This DIY Floral Monogram Initial Tutorial is part of a social shopper marketing insight campaign with Pollinate Media Group® and Newell Brands, but all my opinions are my own. #pmedia #GetCraftyWithElmers http://my-disclosur.es/OBsstV
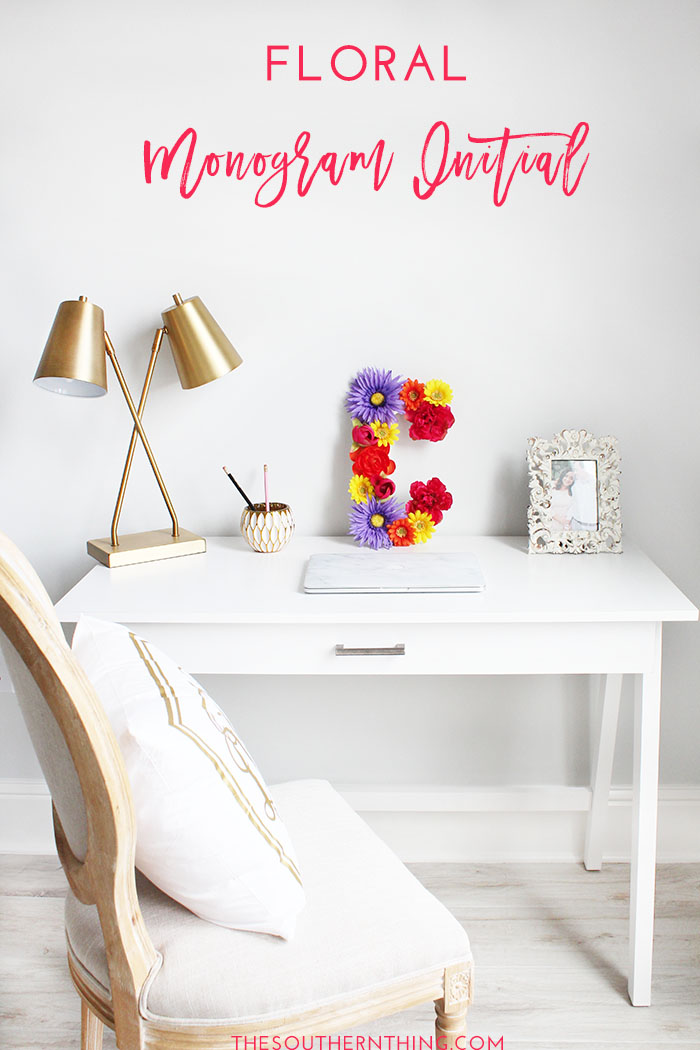 My favorite way to add a spring touch to my home is with all the florals! This tutorial for a DIY floral monogram initial I’m about to share with yall was inspired by just that! Spring florals are the perfect way to add a vibrant array of colors to any space, and best of all, the possibilities are endless!
I’m a sucker for all things monogram and felt my office was in dire need of a pop of color and a personal touch, hence why a trip to Michaels was needed and this floral monogram initial came about!
My office is still a huge work in progress – it’s one of the rooms I have yet to touch since moving into the new house, so needless to say, this space was in desperate need for some decor to fill the space!
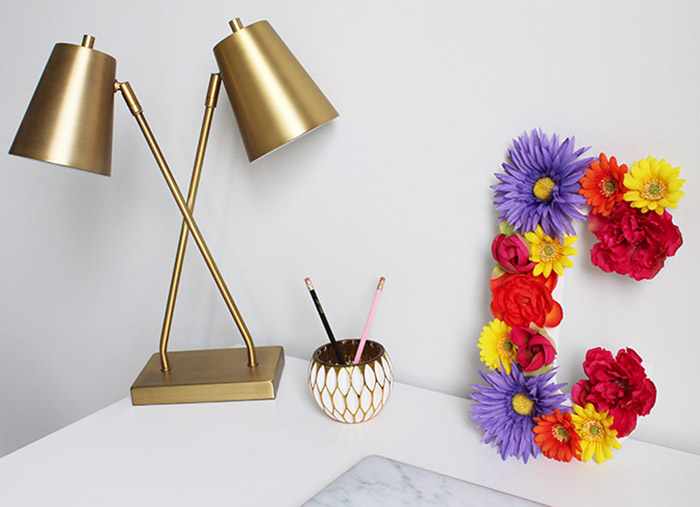
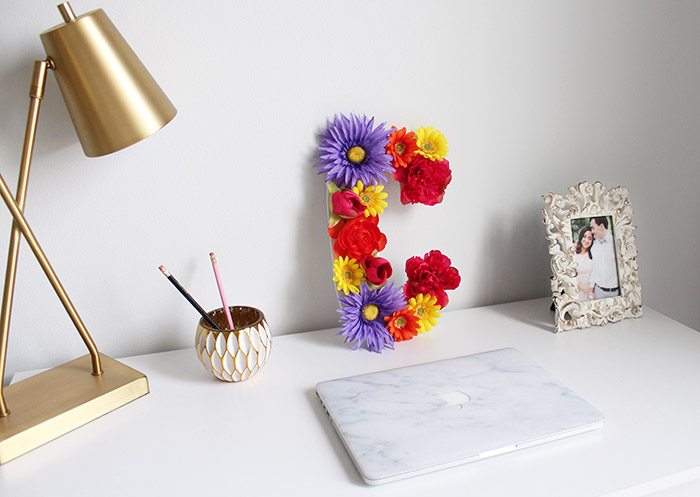 I’m still in the process of looking for a new desk (I know exactly what I want, yet it has been impossible to find- WHY!?!?) and need a lot more accent pieces to fill the space, but so far I am loving my new chair and brass lamp and how this DIY floral monogram initial turned out!
 If you’re a beginning crafter (I’m certainly no pro!) or you’re just looking for a quick and easy craft for the spring season, this DIY floral monogram tutorial is for you!
Check out the super simple steps below to see just how easy this floral initial was to make!
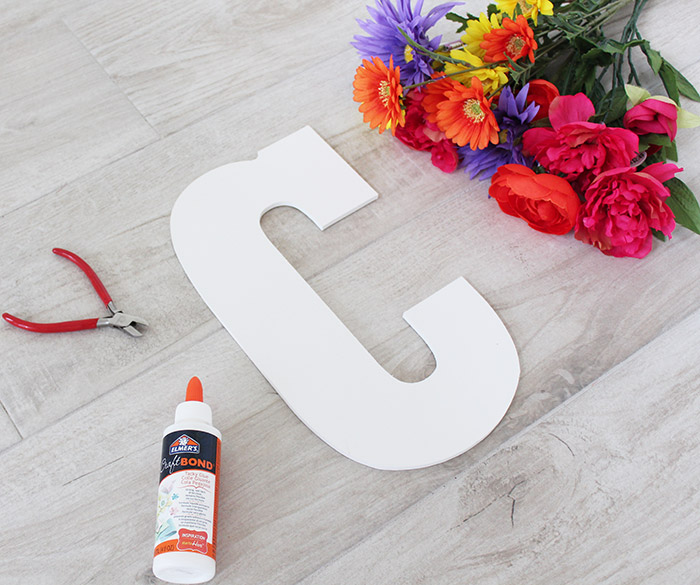 All of the supplies needed for this DIY floral monogram initial can be found at Michaels!
DIY FLORAL MONOGRAM INITIAL TUTORIAL
What You’ll Need:
– An assortment of artificial floral stems – (quantity depends on monogram letter size)
– Wooden monogram letter
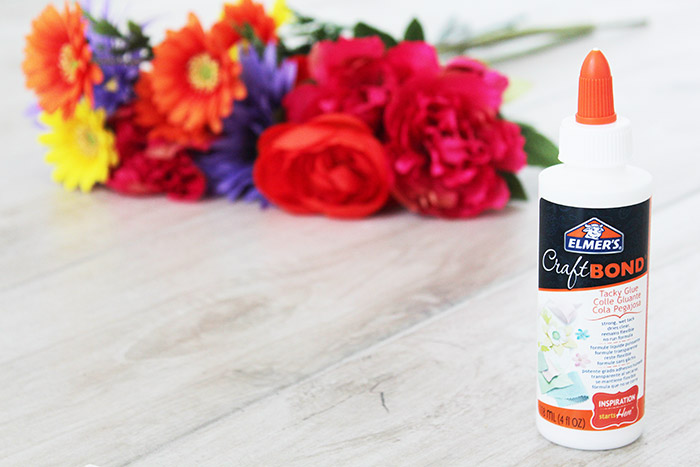
– Elmer’s CraftBond Tacky Glue
– Floral wire cutters 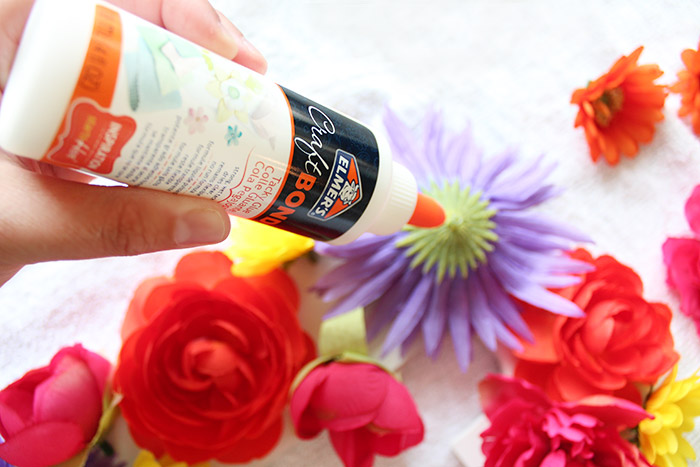
Instructions:
Step 1
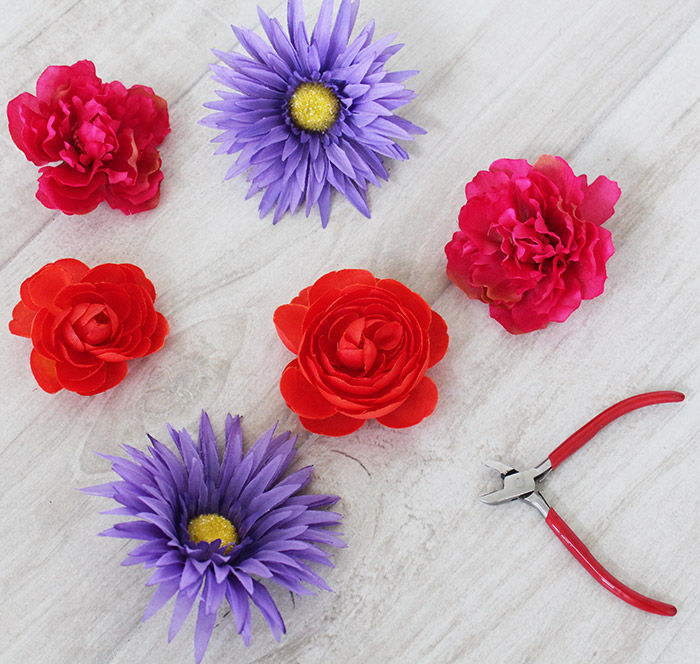
Using a pair of floral wire cutters, cut and remove all flowers from the stems.
Step 2
Arrange the flowers on top of the monogram initial and play around with the layout until you get a look you like!
Step 3
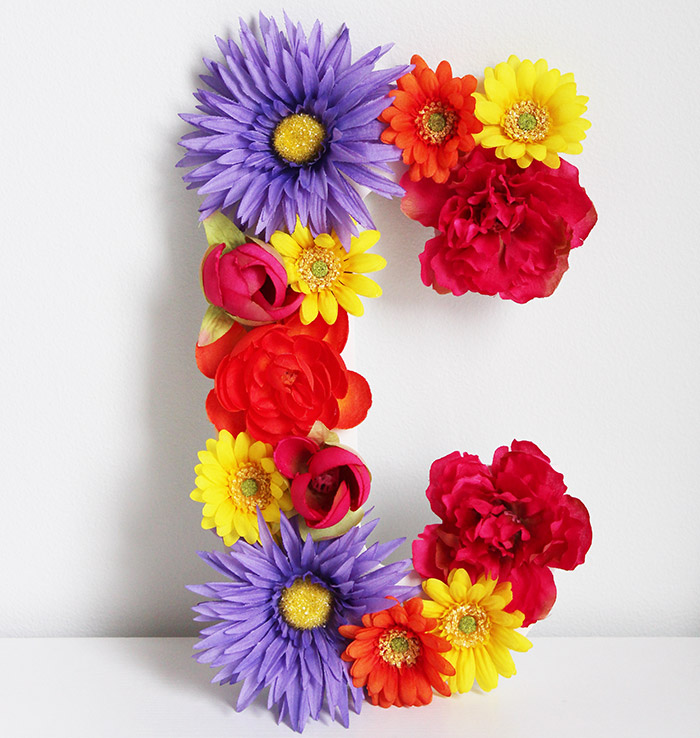
Once you have the flowers all in place, glue each one into place using the Elmer’s CraftBond Tacky Glue.
Step 4
Allow the glue to dry before hanging and voila! Easy peasy!
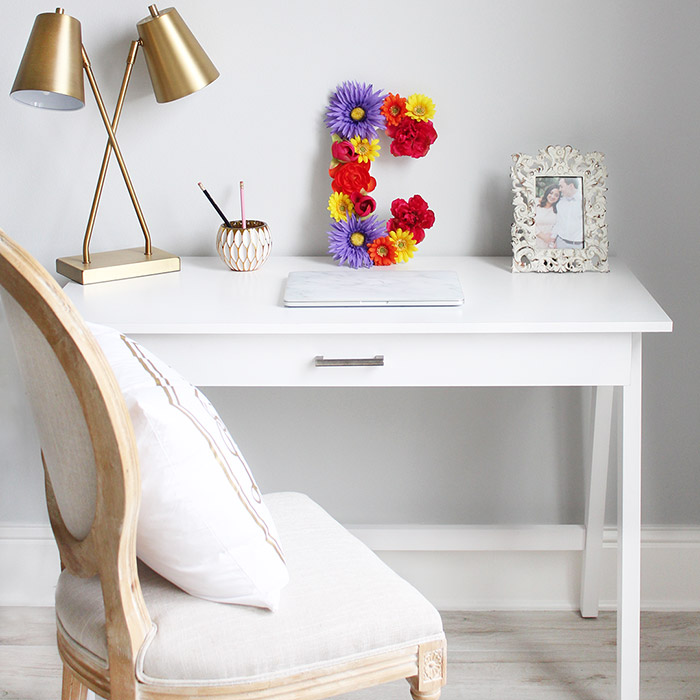 See… I told you this was DIY project was super simple!
Want to give it a try!? Be sure to pin this tutorial so you can follow along later when you’re ready to make your own floral monogram initial!




Lily says
I’m not a pro crafter either, so this seems easy enough. Super cute!
Marci Smith says
This is so cute! And a perfect way to bring spring into the home, I might even do a fall leaves version!
Chenille says
I really like this easy to do DIY project! My room at home is already quite colourful so I might do the opposite and make an all-white floral initial. Thanks 🙂
Tiffany of Rattles and Pearls says
This is the cutest!!
Alix Maza says
LOVE this! And it looks super easy also!
Jenny says
This turned out so nice! I love a fun DIY like this.
Layan says
omg so simple yet cute! I made something similar for my friends bridal shower. Its crazy how far some glue and fake flowers can go! haha
Helen says
Dara! This is SO cute! You did such a fabulous job and I love how it turned out!
Parul says
Oh wow! This is a great idea! And so simple. Thanks for sharing.
adriana says
OMG this is the prettiest! I love how it brings such a pop of color to the space! Perfect DIY idea!
chelsea jacobs says
I love the colors you picked!!
Marette Flora says
What a cute project! Would make a nice gift.
Sami | The Classic Brunette says
This is such a fun idea! Yours turned out super cute!
xo
Sami
The Classic Brunette
Indya | The Small Adventurer says
Floral letters are one of my favourite DIY projects to look at! I am yet to make one myself, but I love the pop of colour and nature that they bring into your home. Plus, as a DIY novice myself, the simplicity to making them is definitely a plus!